In this article we will see how to create filters with BeRocket.
First we should have created the corresponding properties based on which the filter will be created in the products. More specifically, if we want to create a filter based on Brand, it should exist as an attribute and we should have added the corresponding terms of the attribute.
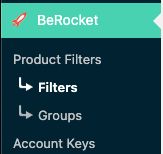
Then you can go from the control panel to BeRocket > Filters
1. Fill in the title of the filter, eg Brands.
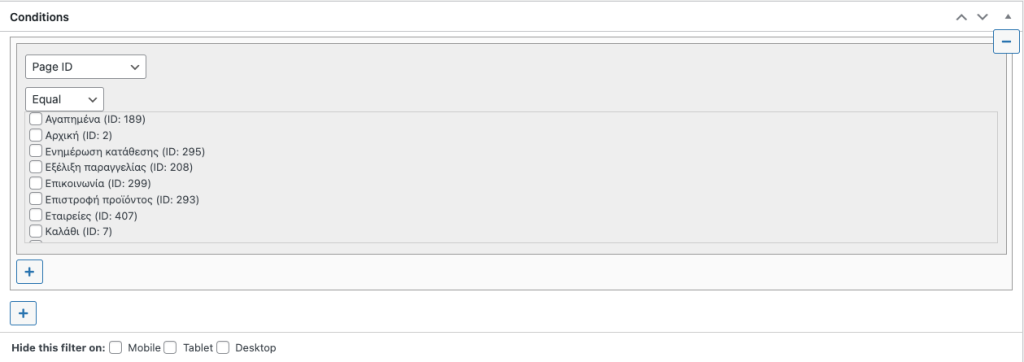
In Conditions we choose + if we want to set some conditions that we want the filter to appear.

2. We can define on which pages of the eshop we wish the filter to appear.
Also, we can choose whether to hide the filter from mobile devices, tablets or desktops.
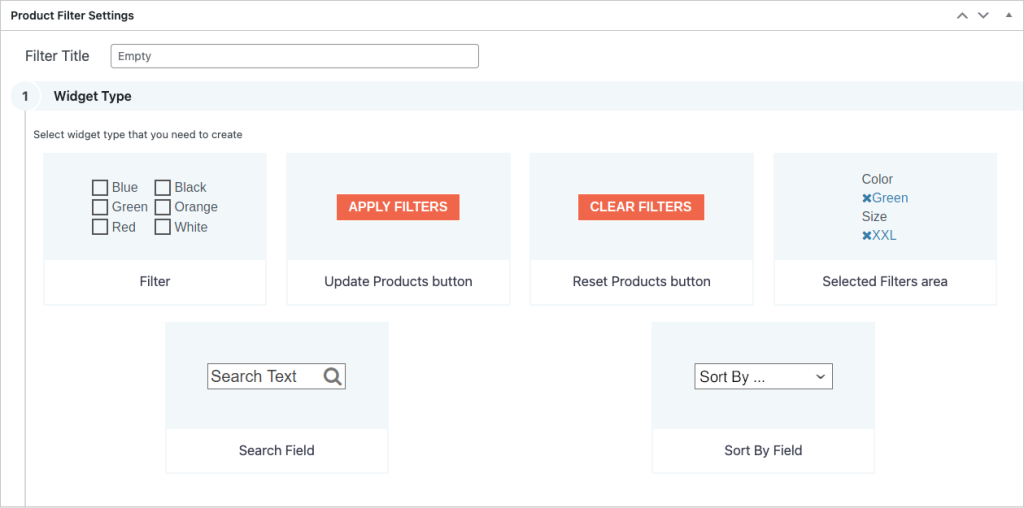
3. In Filter Title we define the title of the filter that will be displayed in the eshop eg Brands.
Then we select “Filter“.
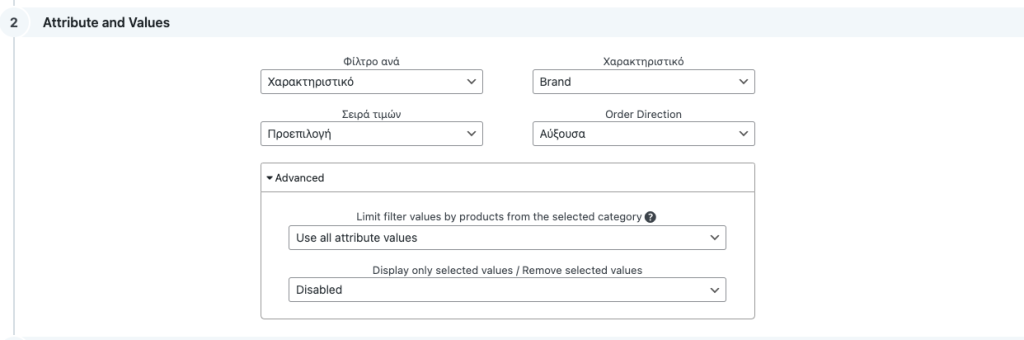
4. In Attribute and Values we select the property we have created in the eshop under “Attribute“.
Then in Advanced if we want to include all the terms of the attribute we select “Use all attribute values“.
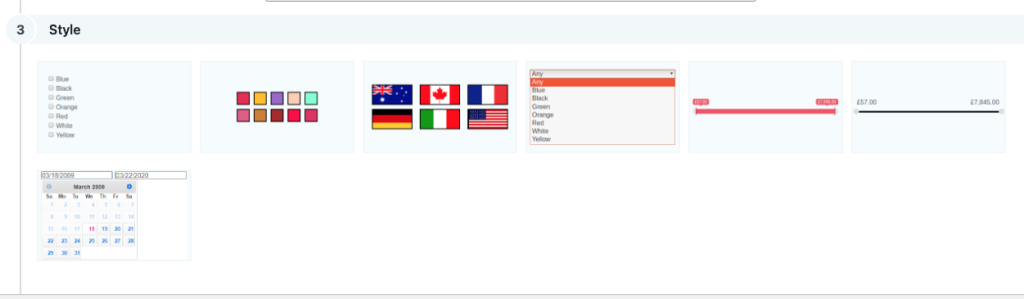
5. We choose one of the display styles of the filters we have defined in the eshop. All filters must have the same display style.
6. Select “SAVE FILTER” to save the filter.

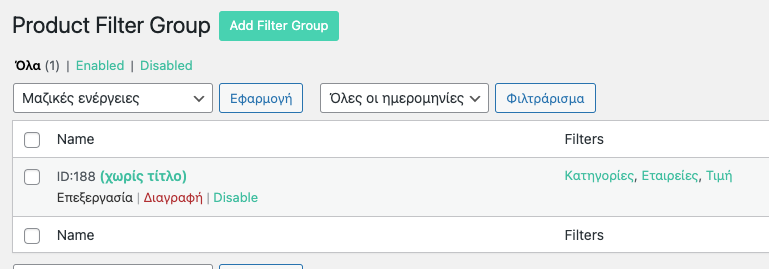
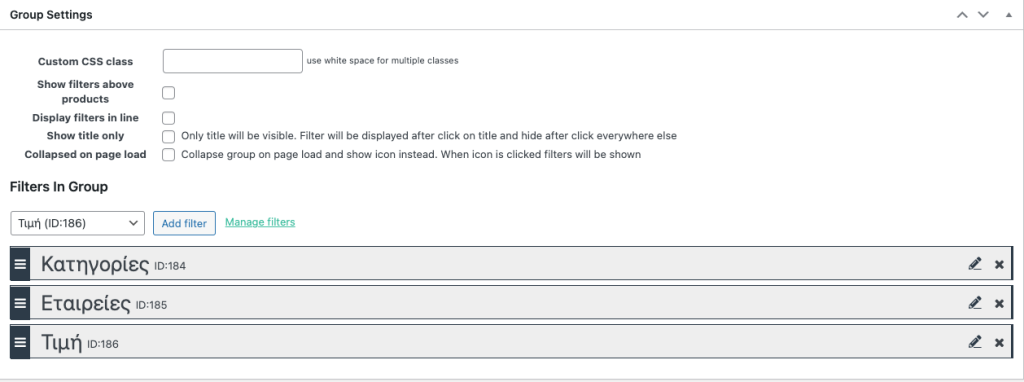
7. Go to BeRocket > Groups
8. We select the group.
10. We find the filter in the Group Settings tab and select “Add Filter” to add it to the group of filters in the eshop.
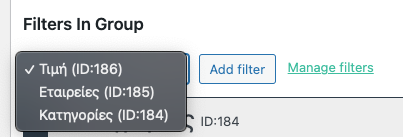
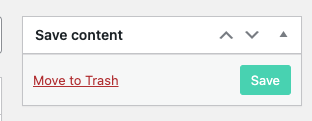
11. To save the settings, select “Save“.
If you want to know more about the products click here.